
DIY Mudroom Makeover with Builtins

It’s a rewarding experience to be able to give back to your parents. After 17 years of our large family shuffling in and out of my parent’s house, it was finally time to transform the room that we used so often, but never spent more than 30 seconds inside. At the height of all of the chaos, there were 12 people, and a dog, living in this house. With 8 kids, 2 parents, and 2 grandparents coming and going multiple times everyday, you can easily assume that our mudroom was extremely difficult to keep clean and organized. Over the years, my parents tried different ways and organizational systems to keep everything a little bit less chaotic, but most of the time that room had to be put on the back-burner.
Well, as you can assume, I decided to tackle this project at my parent’s house and transform their mudroom into something functional and beautiful. There are still 6 people living at the house permanently, ie parents, grandma, and 3 siblings still in school. The number of people living there fluctuates as circumstances arise. Right now there are 8 people, so if you were worried that this project was completely overdue, never fear! It is being used greatly.
I had been woodworking and making small furniture projects at my own house, before drawing up plans for this room, and looking back, I had way more confidence than I should have had! There were a number of parts of this project that were very new to me, but I am glad that I had the guts to do this thing.
My parents definitely took a chance on me, because when I presented my plans to transform this space, I could tell that they wanted to support me, but were not sold on the idea. After all, I hadn’t really done a great deal of woodworking projects, and I had been kind of keeping this new(ish) passion to myself. Let me just tell you that they are the greatest parents alive! They helped tweak some of the design to better fit their needs and wants, and they let me come and start this transformation, while also aiding me in the process, when needed.
Let’s get to it, shall we?!
Feel free to scroll through the pictures to see the process of this transformation. If you have any questions about any of the steps, you can comment on the post or email me through the “Contact” form on the bottom of the screen.
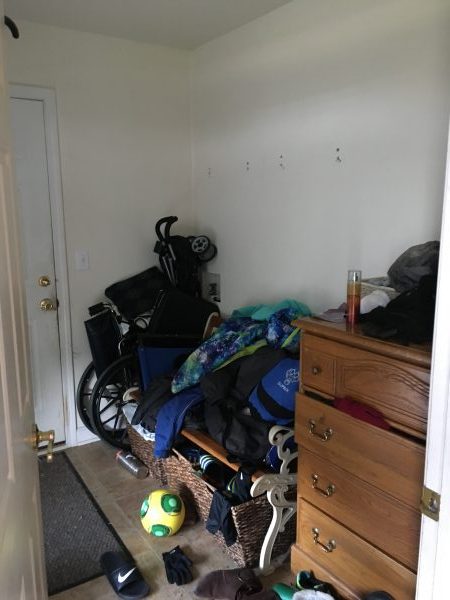
Here is how the mudroom looked before we gutted it:
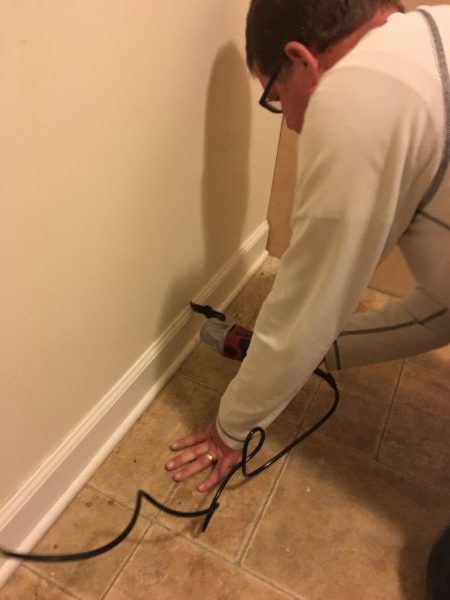
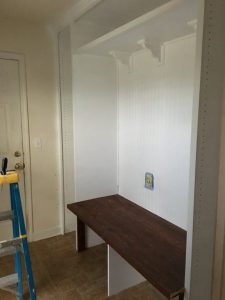
Now to the gutting! We took everything out and removed baseboards where necessary.
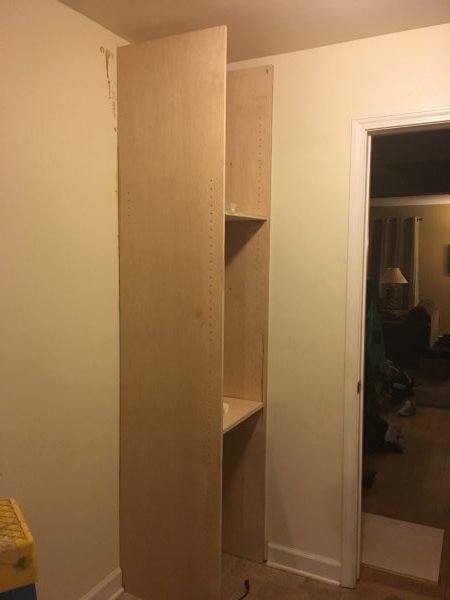
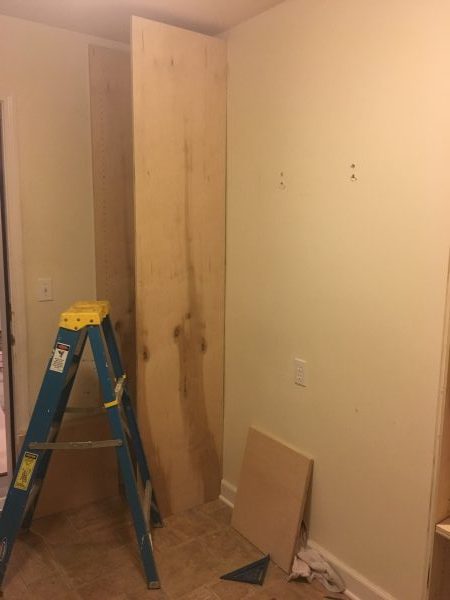
The following pictures will show the progress of the whole project. Since sizing was so specific to this space, I’ll quickly break down some of the steps here:
- Cut plywood frame
- Attached frame to wall and itself
- Added trim and molding
- Attached a paneled backing
- Added brackets and trim
- Painted white
- Built a bench from 2 x 4’s to fit the space
- Attached bench
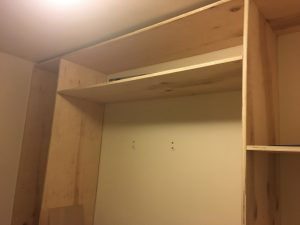
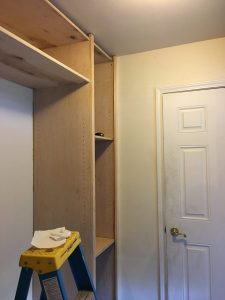
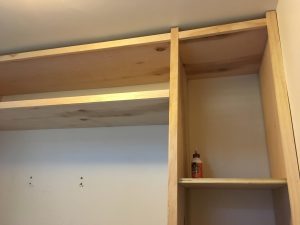
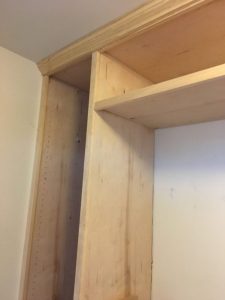
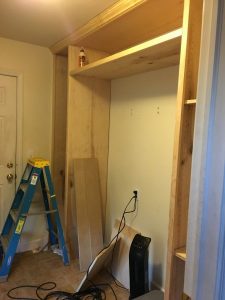
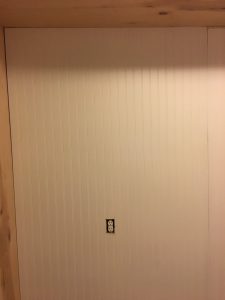
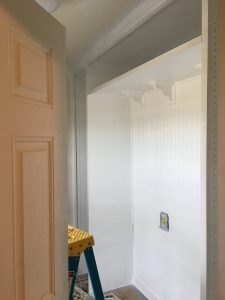
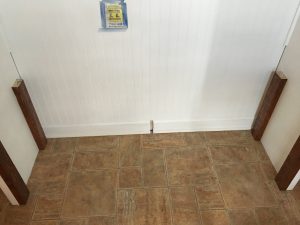
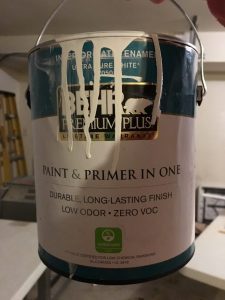
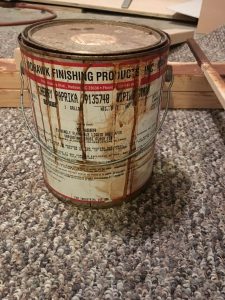
The paint, stain, and hooks that we used:

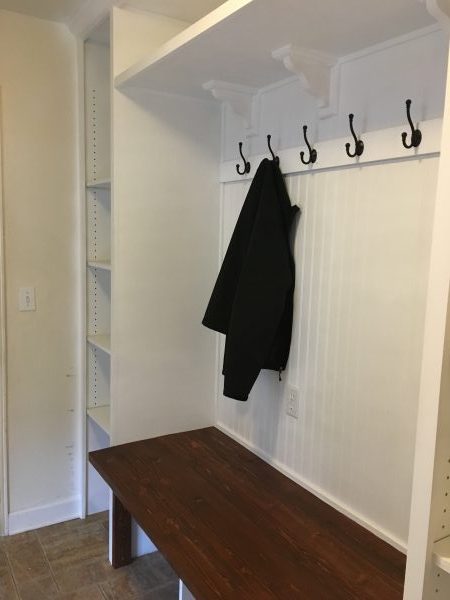
We worked down to the wire on this, and I had to head back home with my kids before we were able to paint the room. My mom was able to paint and put things in soon after, and sent me the following pictures!
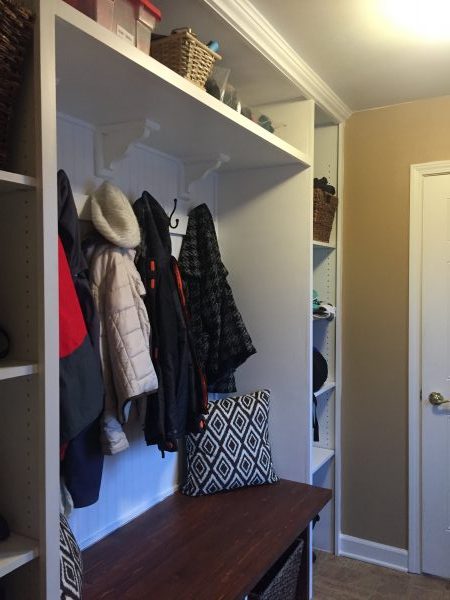
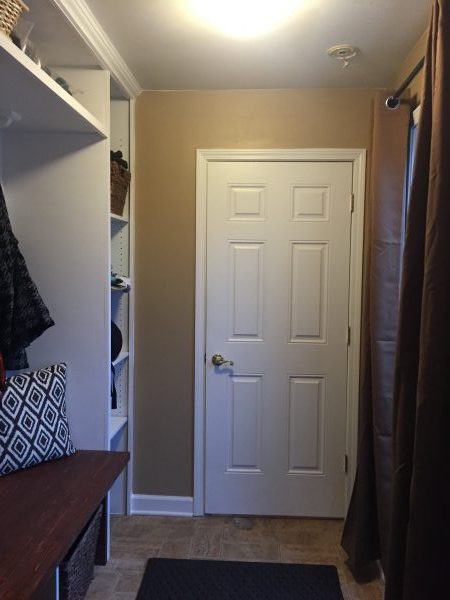
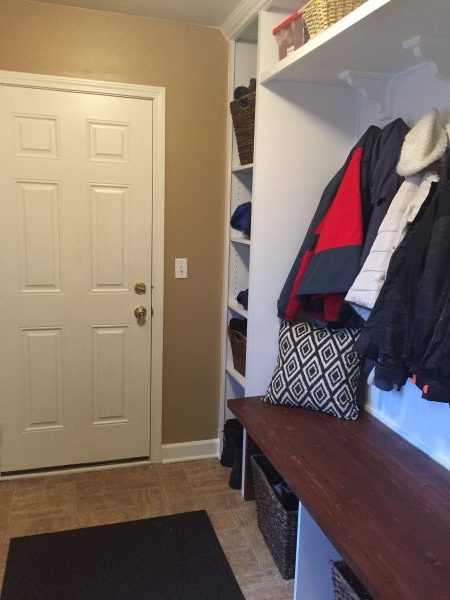
One more before and after to remind you all (and me) of how drastic this transformation ended up being:
Let me know what you think of this project and if you have plans to transform a room in your home as well!
-Whitney
You can also find Restoring Handmade on Facebook, Instagram, and Pinterest!
Other projects you might like:

Subscribe here to get the latest news.
I solemnly swear to never spam you.