
Master Closet Transformation with Builtins
Here we go again, from drab to fab!
After 17 years of living in this house and choosing to focus on other areas of their life (you know, like raising 8 kids), my parent’s master closet needed some organizational love.
I drove up to Wisconsin with my kids and was able to spend about two and a half weeks working on this project and spending time with my family. My husband came up towards the end of our trip, along with a lot of other family members, because we welcomed my younger sister back from her year and a half church mission in Finland! It was a blast.
Here’s a little before and after action for you so that you can see the dramatic difference this transformation made:
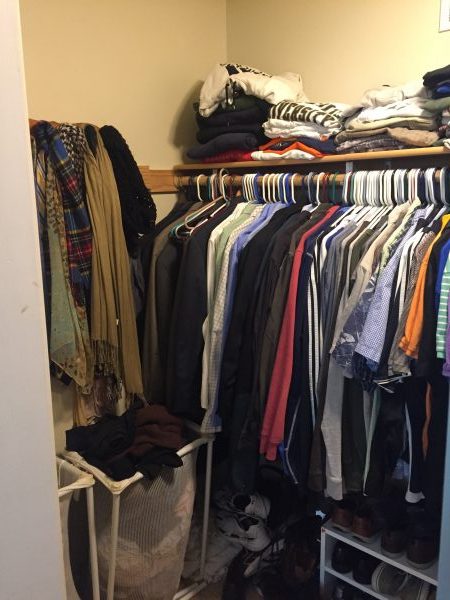

I’m so glad I was able to help my parents totally transform another room in their house! This DIY project also saved them thousands of dollars. Yes, you read that right. If they were to hire out this job, it probably would have cost anywhere from $5k-$15k (educated guess from my construction management brother-in-law, online searches, and other’s previous experiences), whereas we only spent about $1,200 on materials. BOOM, mic drop.
*This post contains affiliate links at no extra cost to you. View my full disclosure here.
Follow along with the pictures below to see how this closet started out, the clearing out process, the constructing process, and the finished product. Let me know what you think!
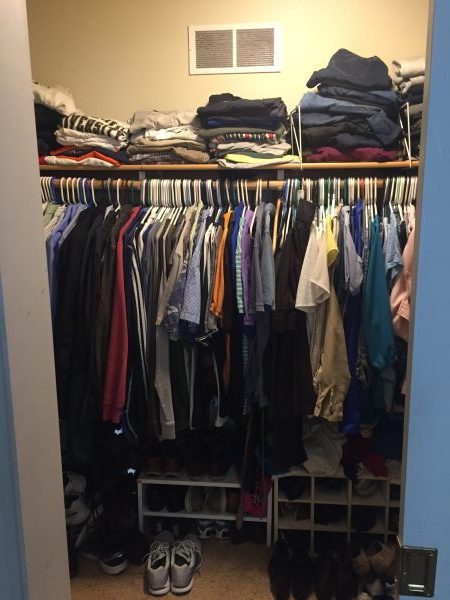

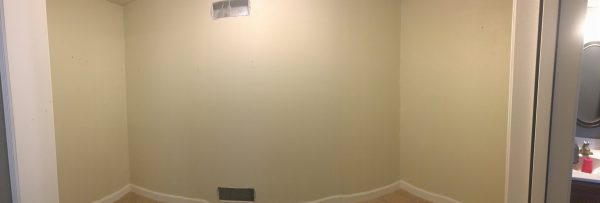
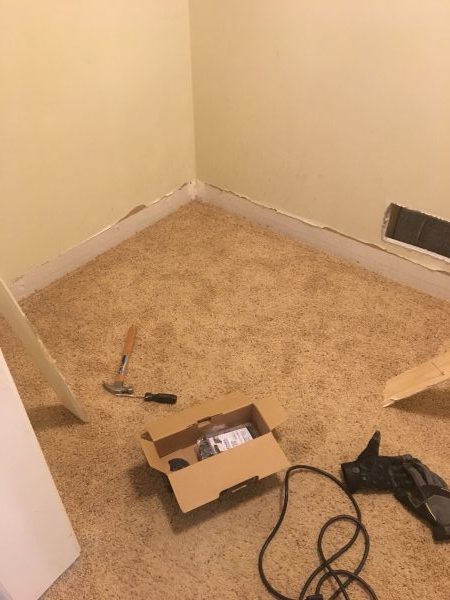
After it was cleared out, we ripped out the baseboards:
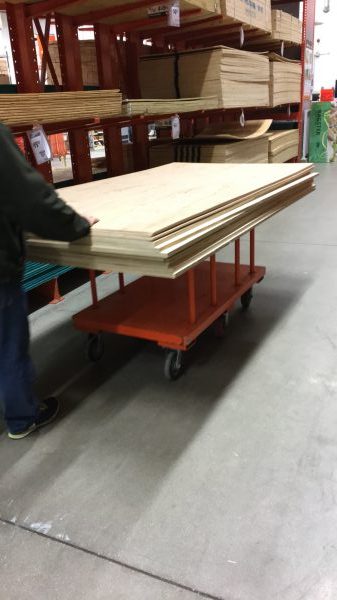
Shopping for plywood at Home Depot. I loooove the Columbia Forest Products Purebond 3/4″, because they’re clean and free of fromeldahyde. We bought a lot of them. Here’s a link to see them.
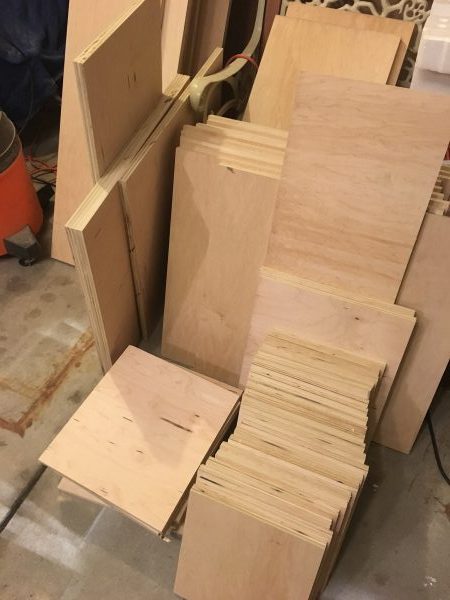
And then we ripped all that plywood with my favorite Makita circular saw, Kreg Rip-cut, and my dad’s Ryobi table saw. All products are linked if you click on the names!
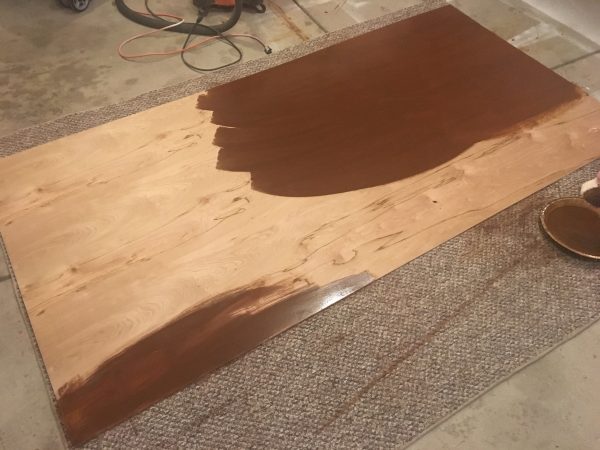
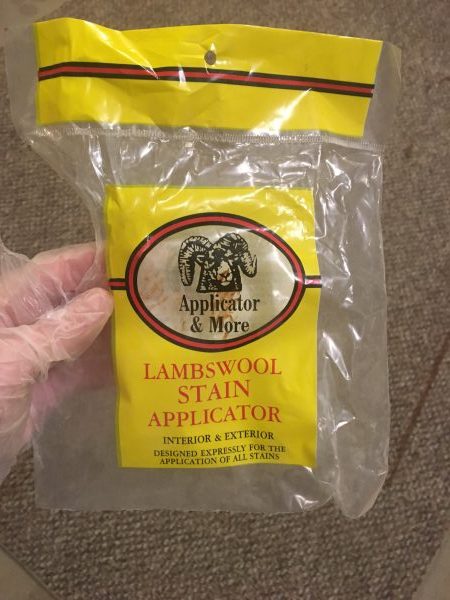
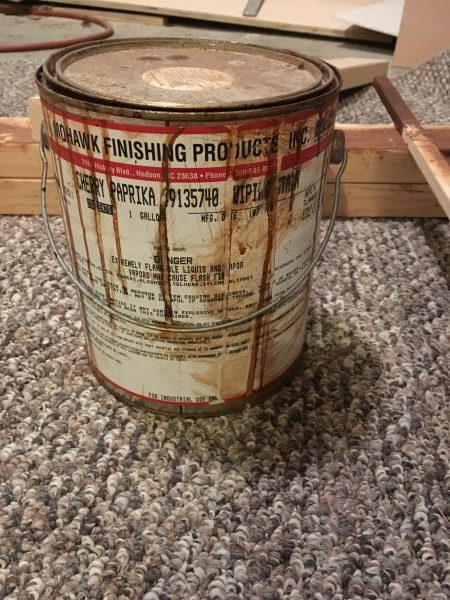
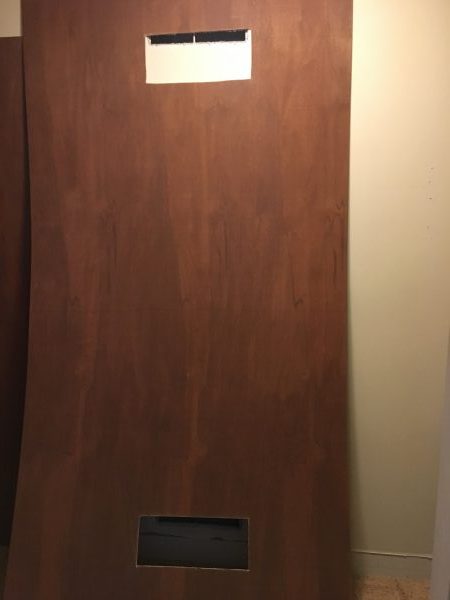
Okay, have you ever heard of this lambswool stain applicator by Applicator and More? If not, let me just tell you it’s the best thing ever for applying stain. Just take a glance at the first picture on the left down below. At the bottom left on the big sheet of plywood, I tried using a regular paint brush to apply our stain, and on the top right my mom used the lambswool applicator. Guess what? We applied stain for the same amount of time! Look at the big difference the lambswool makes. This stuff is really amazing!
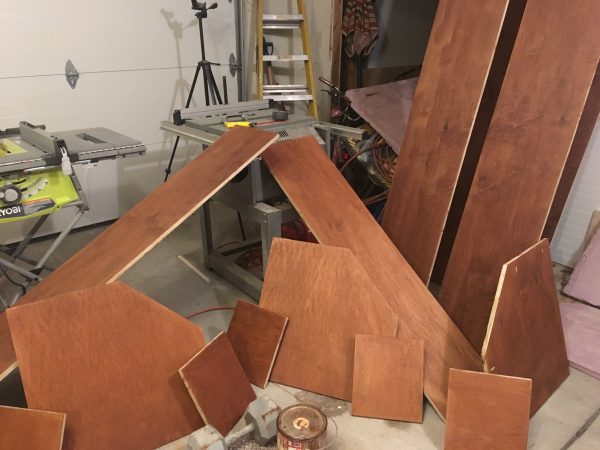
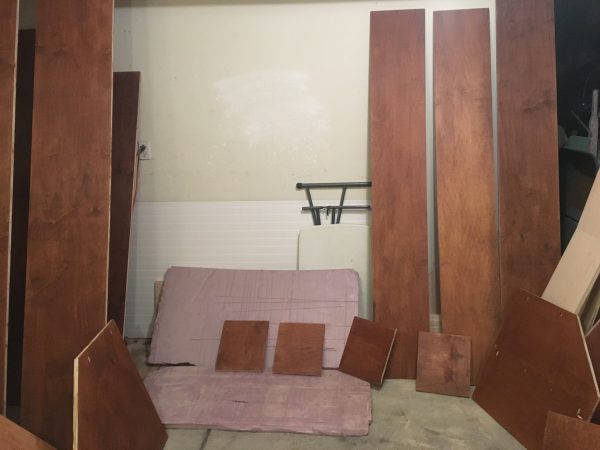
We had to get creative with the drying of the stain, because we stained both sides of the plywood at the same time! It may look crazy, but everything worked out really well for the space we had.
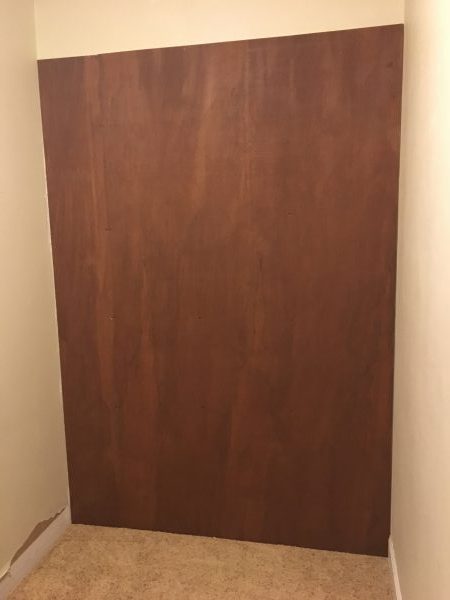
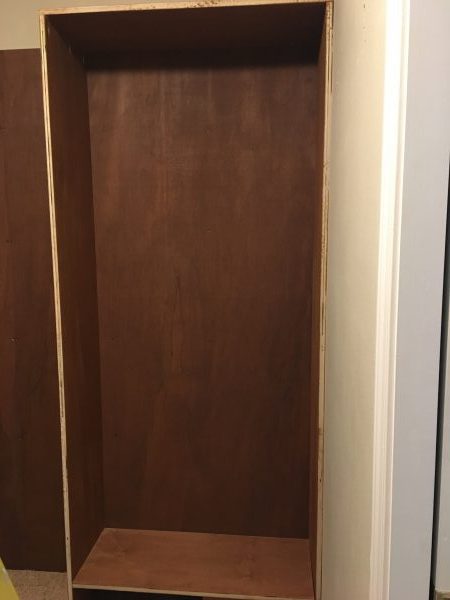
Once the stain was dry, we put the 1/4″ stained backing up on all of the walls. We attached it with wood screws in the studs.
We could then start adding the frame! Mostly all of the frame is attached to itself with pocket holes. Here is the pocket hole jig I used for the long pieces of plywood, and the one I used for shorter pieces. The second is the one I use most, but found it hard to use with really long pieces of wood.
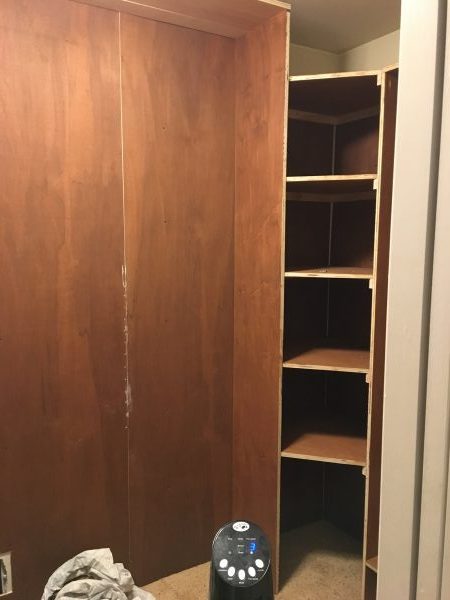
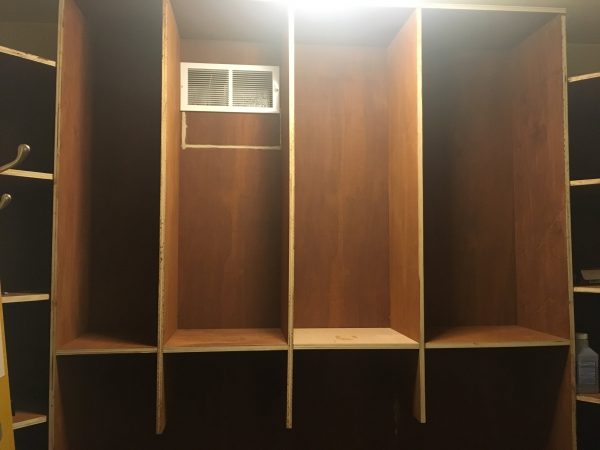
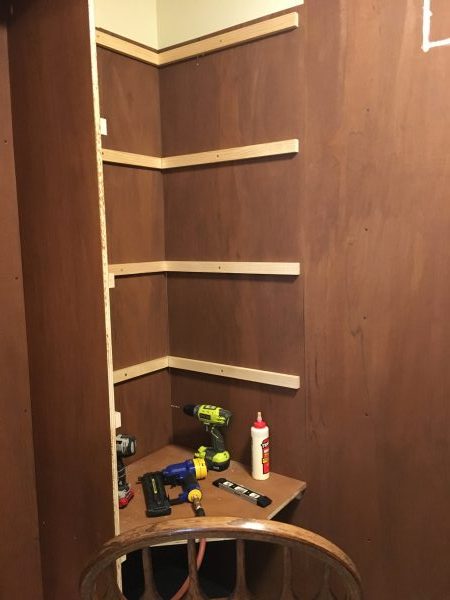
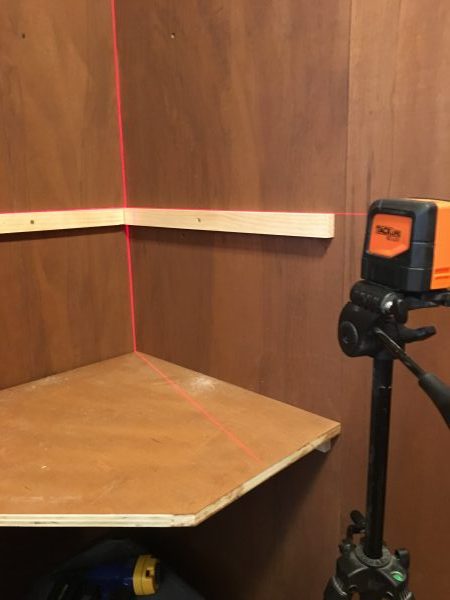
The corner shelves were fun to install, because I got to use the laser level my husband got me for Christmas to put in the supports. It came in handy and did it’s job just as I hoped it would! It’s been used for lots of other projects, so if you know a woodworker it would make a great gift. Or you can put it on your own wish list!
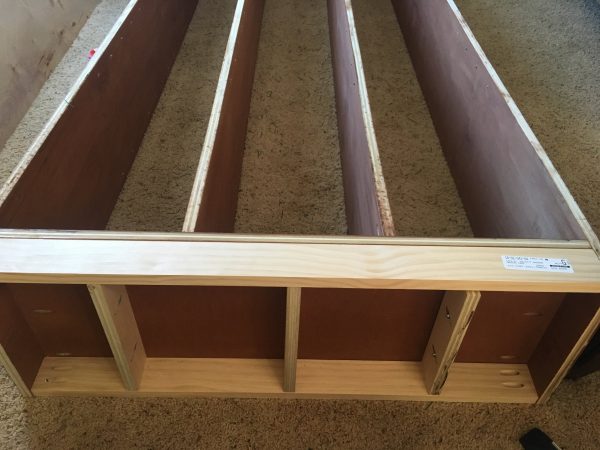
Building the shoe shelf was fun, it is attached with wood glue and pocket holes, and the backing is attached with wood glue and brad nails.
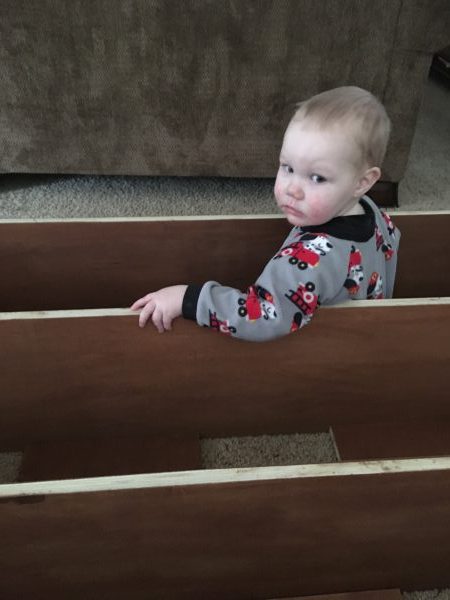
I had a little helper who thought he was pretty funny playing in the shelves.
The trim was fun and easy to attach, and it covered up all of the plywood edges. I used 1/2″ x 3/4″ pieces of wood to cover the 3/4″ thick plywood, and attached it with brad nails in my nail gun.
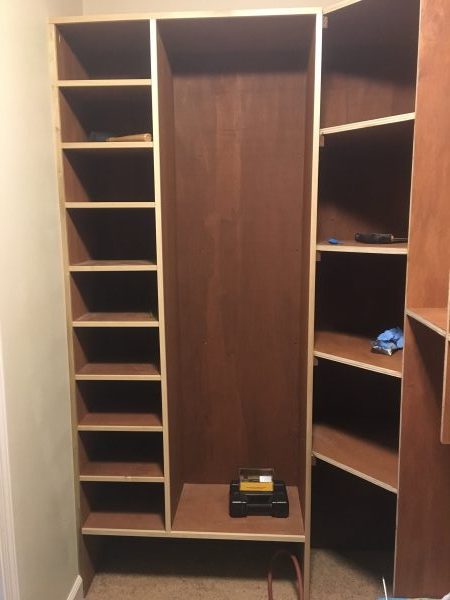
Once the trim was attached everywhere, we filled in the holes with wood filler, let them dry, sanded them smooth, and then stained them right in the closet. We filled the pocket holes with pocket hole plugs that we then trimmed and stained as well.


The last step was cutting and attaching the rods. This turned out to be a little trickier than anticipated. The closet rods were purchased with the sockets, but the metal rods had to be cut to fit each space. My dad and husband actually worked on that while I was finishing up the woodworking part in the closet. They ended up cutting the rods with the angle grinder and metal cutting attachment. The shiny chrome rods look really sleek in contrast with the wood!
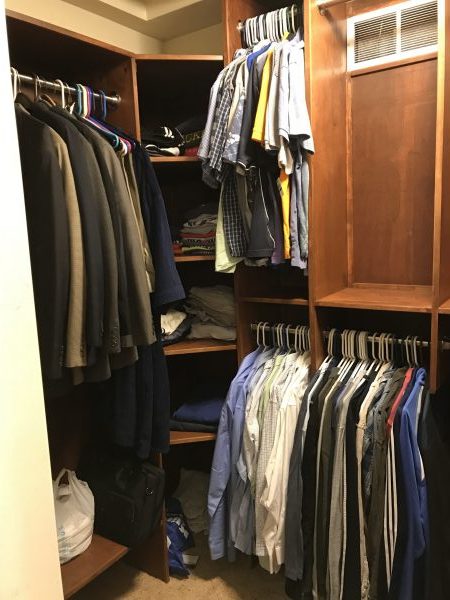
And it’s done! Here is the closet all finished up. The next three images are the completed closet from left to right:
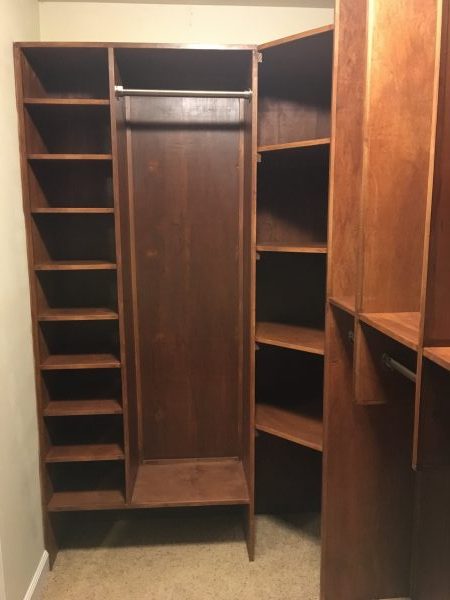
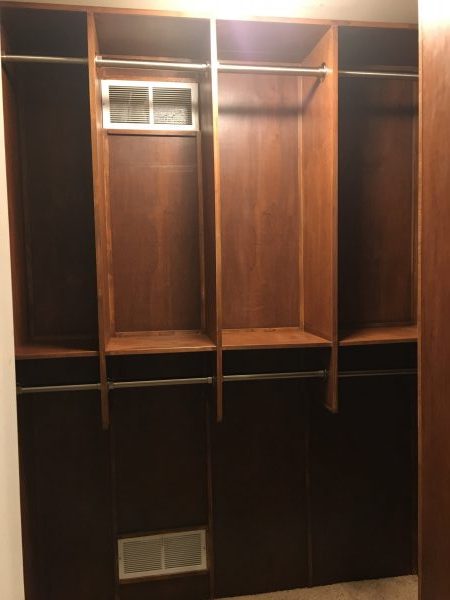
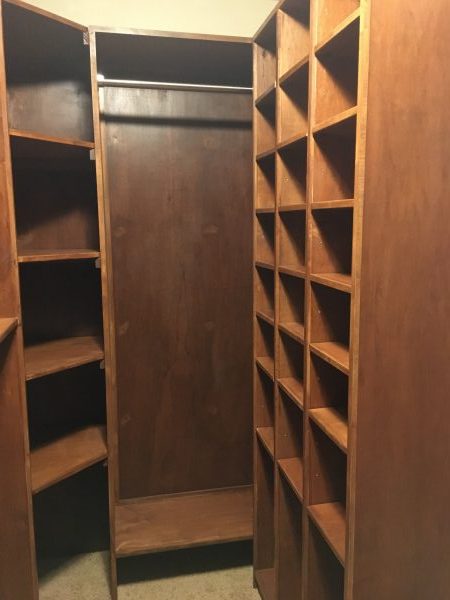
Thanks for following along with this project! Let me know what you think, and if you have any questions feel free to email me through the “Contact” link at the bottom of the page.
I hope you’re having a great week!
-Whitney
You can also find Restoring Handmade on Facebook, Instagram, and Pinterest!
Other projects you might like:


Subscribe here to get the latest news.
I solemnly swear to never spam you.