
DIY Outdoor Wooden Porch Lantern

Do lanterns give you the warm fuzzies like they do me? I have to force myself to not walk through the lantern sections at home stores, because they tempt me wayyy too much. If I could buy allll the lanterns, I would! There is just something about them that makes a place feel warm and homey.
Nice lanterns can get pricey, especially if you want a large one. That’s why I decided to DIY this thing and make a wooden lantern of my own.
Trying to be resourceful in my shop, I made this one out of scrap wood, but as always I put the wood you could buy to make your own if you don’t already have the wood.
Follow along with the tutorial below to make a this DIY outdoor wooden lanter, and always remember to be safe while using your tools!
*This post contains affiliate links at no extra cost to you. View my full disclosure here.
What you’ll need:
Materials:
- (1) 2 x 2 x 8 furring strip
- (1) 3/4″ x 2 x 2 plywood project panel (like this one from Menard’s- other stores vary on availability)
- (1) 1 x 6 x 2 (check the discount cutoff bins at your local store to see if they have them there or even ones shorter! You only need 7 3/4″ of the board)
- Wood glue
- 1 1/4″ brad nails
- Minwax True Black stain
- Polyurethane
Tools Used:
- Miter saw
- Orbital sander
- Brad nailer
- Glubot
- Router with roman ogee bit
- Router table
- Painter’s tripods
Cutlist:
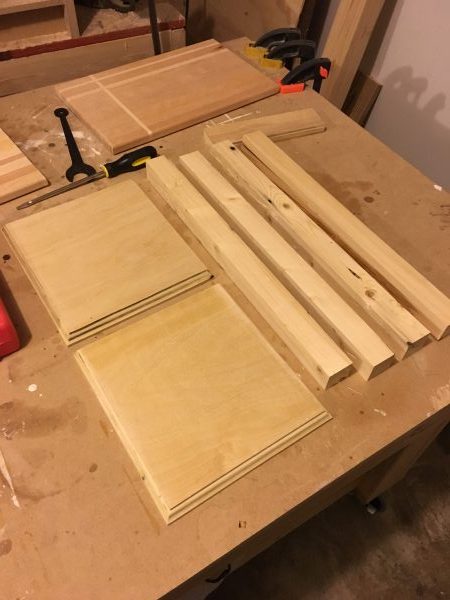
- (4) 2 x 2 x 18 1/2″ (pillars)
- (2) 3/4 x 9 3/4″ x 9 3/4″ (top and bottom)
- (1) 1 x 6 x 5 1/2″ (larger top piece)
- (1) 1 x 2 1/4 x 2 1/4″ (smaller top piece)
Step 1: Cut your wood
- Using the cutlist above, whip out your miter saw (HERE’s the one I use and love) and cut the posts, top and bottom piece, and the top decorative pieces- that is, all of them.
Step 2: Sand your wood
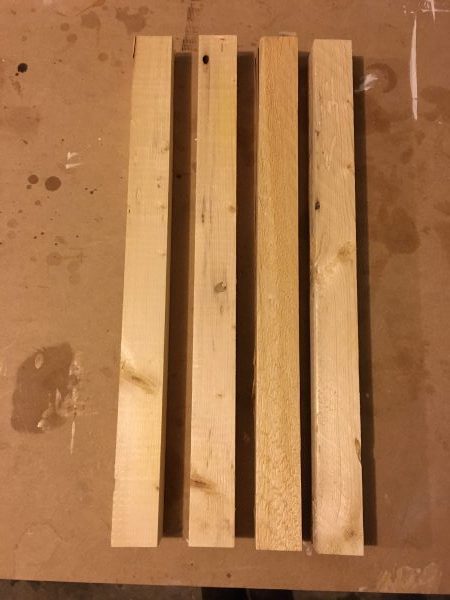
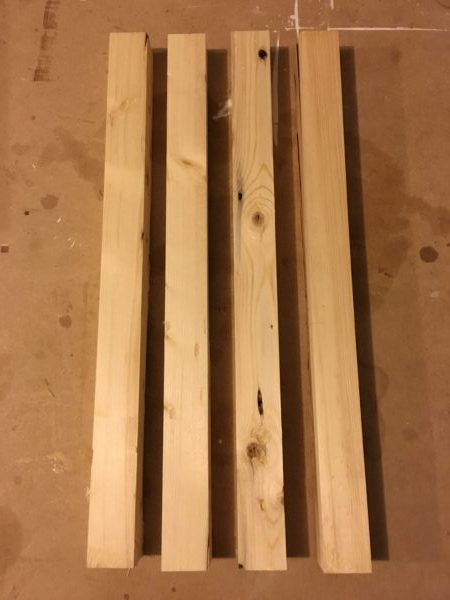
- Furring strips can be pretty rough and usually need a lot of sanding, so it would be a good idea to use your sander to get them smooth before assembly. You might as well go ahead and sand the rest of the pieces too!
Step 3: Route the edges
- This step is optional, but I think that taking the extra time to route the edges of a piece really makes a statement! The router I have is the Ryobi plunge router, which I hooked up to my router table, and inserted the roman ogee router bit. I went over the whole top edge of the top and bottom pieces. You can do it too!
- The router table is completely optional if you don’t have one. You can just clamp you piece of wood down and use your router by hand.


Step 4: Assemble
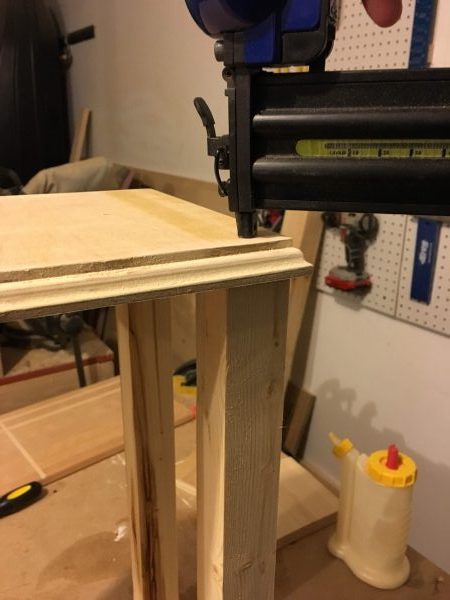
- Now that everything is prepped, you can start putting it all together! This is the fun part, because all you need to do is glue and nail into place. (Here is the nail gun I use and love, as well as my glue applicator here)
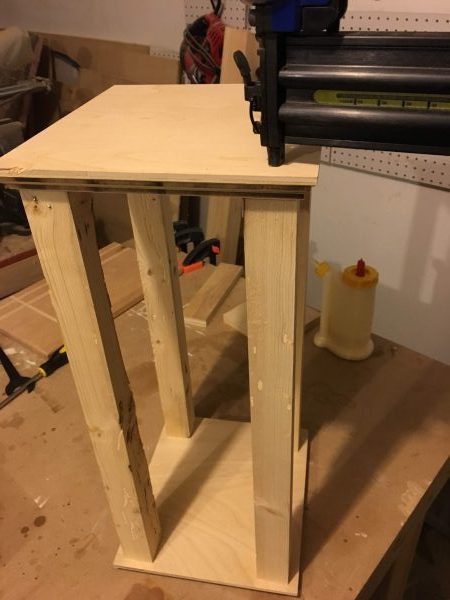
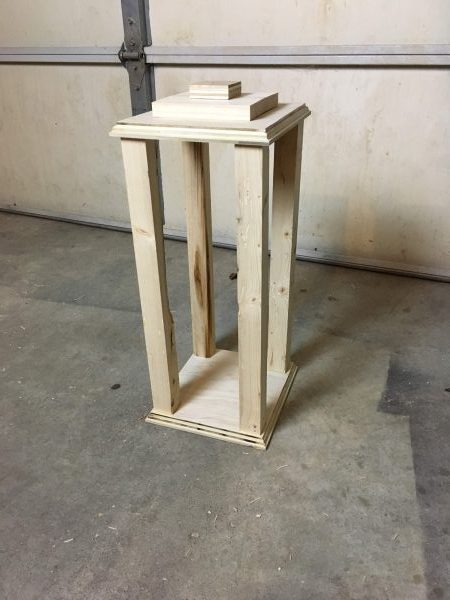
- You can be more precise than I was, but I inset the pillars a small amount on the bottom plywood piece, glued them, and then nailed them in from the bottom.
- Then you can center the top piece onto the pillars, glue, and nail from the top.
- Next, center the 1 x 6 x 5 1/2″ piece on the top, glue, and nail.
- Lastly, center the 1 x 2 1/4 x 2 1/4″ piece on the last one you did, glue, and nail. See the pictures below if that all sounds a little confusing!

Step 5: Stain
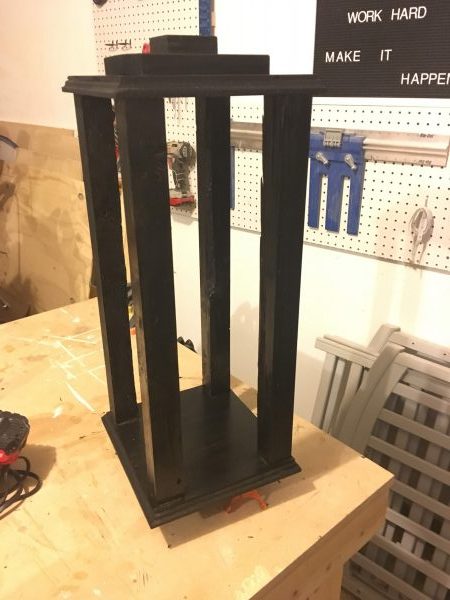
- Using your stain of choice, mine was Minwax True Black, stain your entire lantern with paper towels, a foam brush, or whatever applicator you prefer.
- One tip for staining that I love is to use Painter’s Tripods (aka painter’s pyramids) to keep your work piece off of your work surface, therefore not getting stain on your workbench (or kitchen table). They are around $5 for a pack and I find that I use them for basically every project.
Step 6: Finish with poly
- There are a few options for the finish coat here, but something durable like Minwax Helmsman Spar Urethane is great for outdoor protection. Personally, I think you would be just fine using normal polyurethane or polycrylic, depending on how much exposure your lantern will have. Mine is under a covered porch, but some people’s might be exposed more harshly to the elements.
- Either way, apply a couple of coats of finish on your lantern and it’s all done!

I looove this project because it’s quick, inexpensive (especially if you’re using scrap wood like me), and it adds a lot to your curb appeal! You can also decorate it for any season of the year. Now that I say that, it would also be very cute sitting in front of a fire place or other areas around the house. There are options, people!
Happy building friends!
-Whitney
You can also find Restoring Handmade on Facebook, Instagram, and Pinterest!
Other projects you might like:


Subscribe here to get the latest news.
I solemnly swear to never spam you.