
Square Coat Tree: Do it Yourself!

Prices for coat trees seem a little bit outrageous sometimes. This project challenged me in new ways, because almost every piece has an angle, so I totally get why they can be so pricey! But I was also able to make this coat tree for $13 in lumber, making it totally worth it to DIY. The final number will depend largely on the hooks you buy, but I was able to find very study ones for a great prize on Amazon (click here).
This project was for a friend, and she requested that it be a sleek black. She has pretty good taste, eh? Our original inspiration came from this Pottery Barn coat tree.
Follow along with the tutorial below to make one for yourself, and let me know if you do! Always remember to wear protective equipment and to keep yourself safe while building.
*This post contains affiliate links at no extra cost to you. View my full disclosure here.
What you’ll need:
Materials:
- (4) 2 x 2 x 8’ Furring strips ($2 each at Menards!)
- (1) 1 x 2 x 6’ Pine boards
- (1) 1 x 4 x 6’ Pine boards
- Wood filler/epoxy putty w/hardener
- Black spray paint
- Lacquer/Poly
- 1 ¼” Pocket Hole Screws
- 2” Wood screws
- 2” Brad Nails
- Wood glue
- Metal hooks (click here)
Tools Used:
- Miter Saw
- Orbital Sander
- Drill
- Brad Nailer
- Speed Square
- Clamps
- Pocket Hole Jig
- Jig Saw/Oscillating Tool
- Right Angle Drill Attachment
Cut List:
- (4) 2 x 2 x 72 1/8” (legs)
- (4) 1 x 4 x 5” (top braces)
- (4) 1 x 2 x 7 ½” (middle braces)
- (4) 1 x 4 x 12 1/8” (bottom shelf)
- (2) 1 x 2 x 10 ¾” (bottom shelf supports)
- (2) 2 x 2 x 10 ¾” (bottom shelf supports)
Step 1: Cut your wood
- Using the cut list above, measure and cut all of your lumber to the sizes given.
- Once you have done that, some of the pieces will need to be angled.
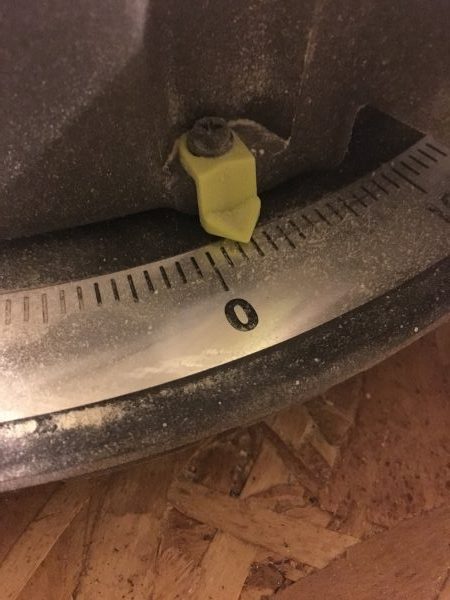
- Using your miter saw, you will be cutting an angle off of the ends of a lot of pieces. I used a 2.5 degree angle for all of them, so you will have to swivel the base of your miter saw to achieve that angle (see pictures below).
- To cut the wood, all you need to do is line up the wood with the angled saw. One of the corners won’t really be cut, so you just need to make sure the wood is facing the right way for the angles you need. Basically, one corner of the wood will stay the same length, so if you line up the saw so that it cuts flush with that corner, you don’t need to measure anything. Does that make sense?
- Here is a list of what you will be cutting at an angle:
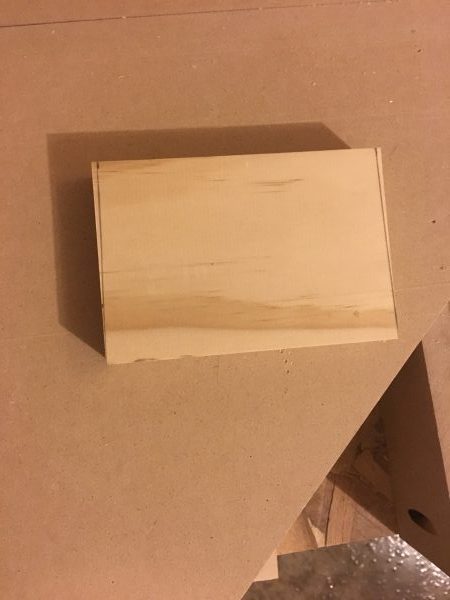
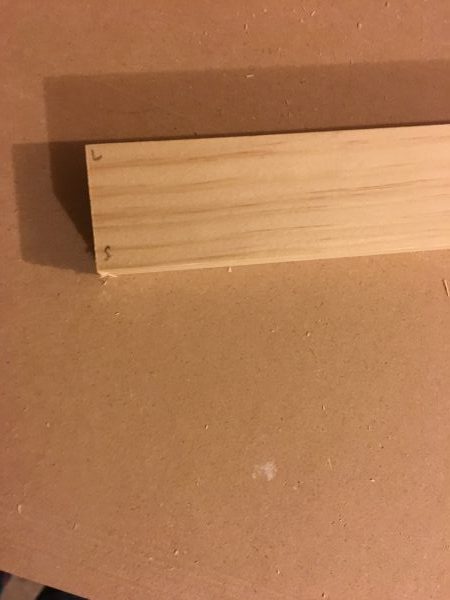
- 2 x 2 x 72 1/8” – Lay these pieces on a corner edge, instead of flat, while you’re cutting them on your miter saw. Cut angle off one end of each piece. The cut side will be the bottom.
- 1 x 4 x 5” – Cut angle off both ends of each piece. The angles will both point inward- not parallel.
- 1 x 2 x 7 ½” – Cut angle off both ends of each piece. The angles will both point inward- not parallel.
- 1 x 2 x 10 ¾” – Cut angle off both ends of each piece. Same as the previous two pieces.
- 2 x 2 x 10 ¾” – Cut angle off both ends of each piece. Same as above.
Step 2: Drill pocket holes
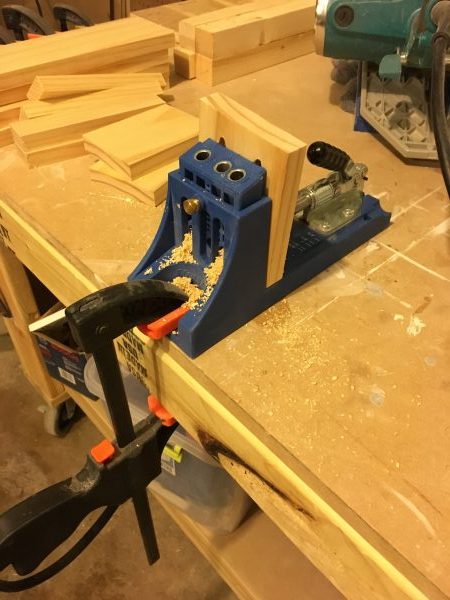
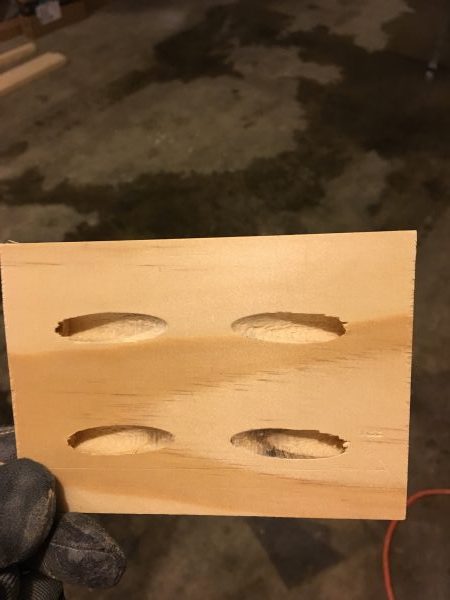
- Whip out your handy dandy Kreg Jig for this!
- Here is a list of where the pocket holes will go:
- Top braces- 2 in either angled end
- Middle braces- 2 in either angled end
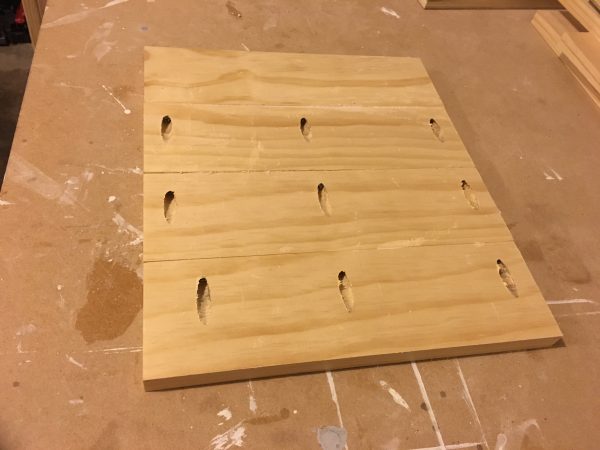
- Bottom shelf- 3 along one edge of (3) of the boards
- Using your pocket hole jig, drill the holes as mentioned in the list above. See the pictures for more details.
I only did one pocket hole in either end of the middle braces, and they are definitely sturdy, but it is a better practice to do two.
Step 3: Join bottom shelf
- Using wood glue, clamps, and 1 ¼” pocket hole screws, attach the bottom shelf pieces along their edges.
Step 4: Attach top braces
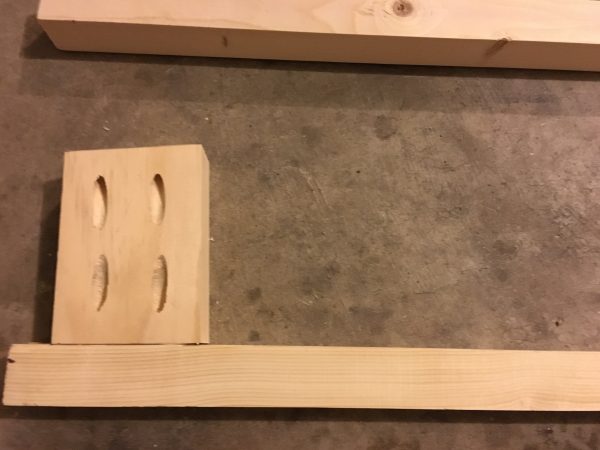
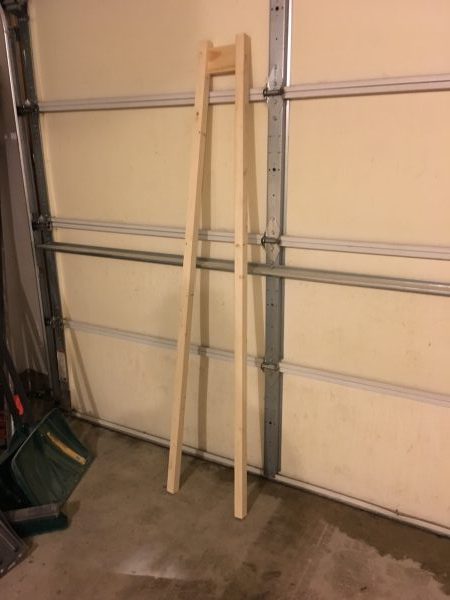
- Using wood glue and 1 ¼” pocket hole screws, attach the top braces to the legs.
- They will be placed near the top of the uncut side of the 2 x 2 legs.
- Make sure that your legs are facing the right way. The bottom of each leg has one long corner. That long corner will be on the outside of the coat tree. Drill in these pieces on the inside of the coat tree.
- The measurement will be about an inch down from the top, with the shorter side of the braces up, the longer side down.
- *I saw about an inch, because you really just want them to fit. Slide them around until they fit the best! Just make sure they are level with each other.
- You want the pocket holes to be on the inside of the coat tree.
- Line up the braces to be flush with the inside of the coat tree.
- If your drill can’t fit on the inside to put the screws in, you can either nail the other two top braces in, have the holes facing out and fill them in later, or use a right angle drill attachment (see picture below Step 5).
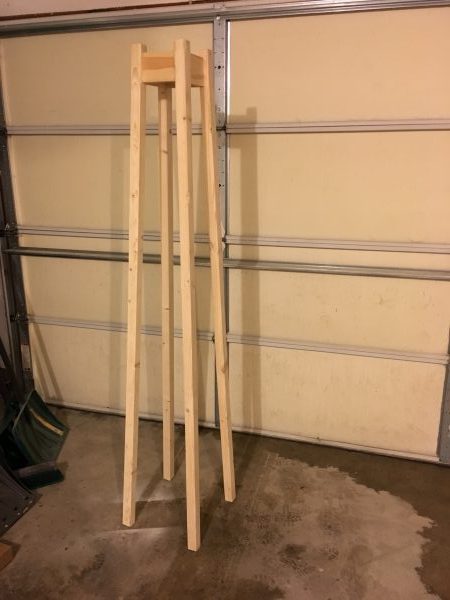
Step 5: Attach middle braces
- This will be similar to the top braces:
- Shorter part of the angle up, longer side down.
- You want the pocket holes on the inside.
- You want to have the inside of the braces flush with the inside of the legs.
- Attach with wood glue and 1 ¼” pocket hole screws.
- The braces will be almost 22” down from the top braces. Again, you can slide them around to make sure they fit. You just want them level with each other!
- A handy little tool to fit into those tight spaces with your drill is this DeWalt right angle drill attachment. I’ve used it so many times! (shown in second picture)
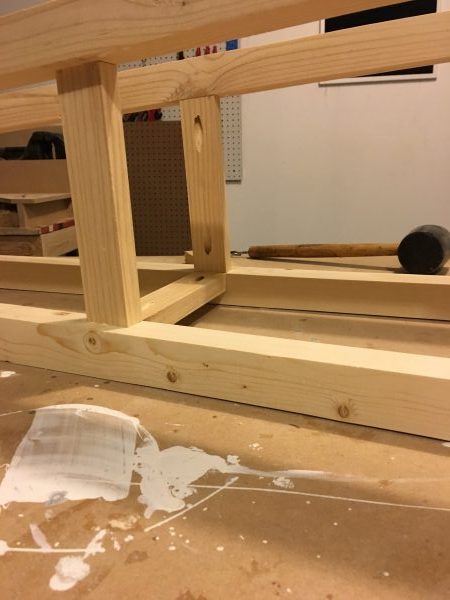
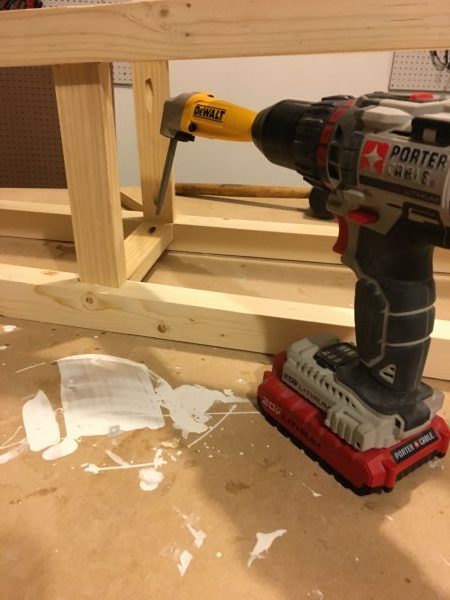
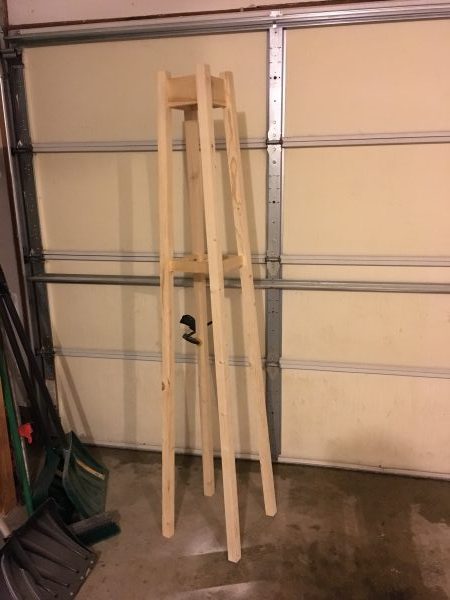
Step 6: Trim bottom shelf and corners
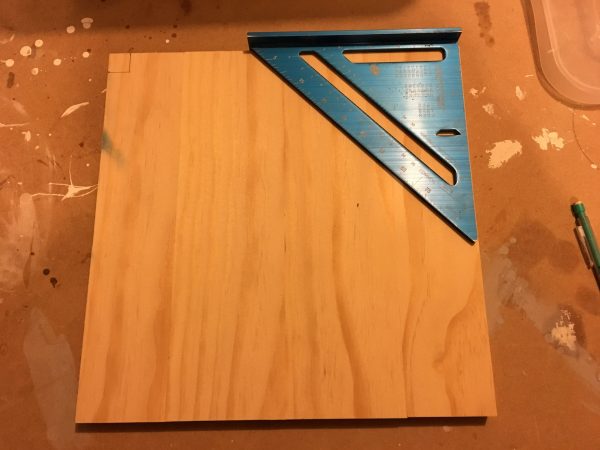
- The bottom shelf will be just a little bit too wide. You will need to trim the shelf so that it’s a perfect square- 12 1/8” x 12 1/8”
- Cut the shelf with your miter saw so that the width is also 12 1/8”. I had to cut about 1 7/8” off.
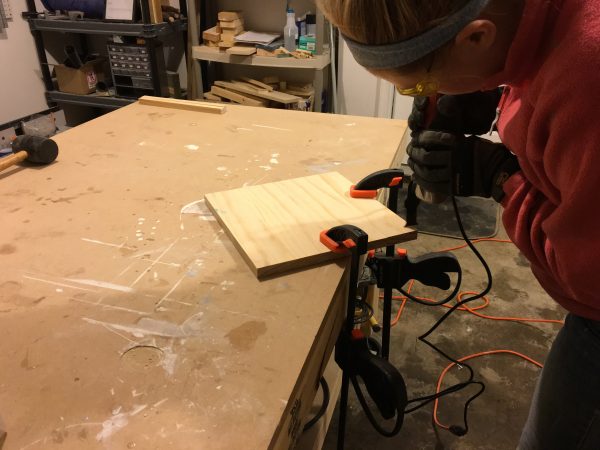
- You will also be cutting the corners of your bottom shelf. You can either use a jig saw or an oscillating tool (or a band saw if you have one) to do this.
- Measure a ¾” square to be cut off of each corner. I did this using my speed square.
I used my oscillating tool to cut out the corners, but honestly it would have been easier and quicker with a jig saw, but I just couldn’t find my blades at that moment!
Step 7: Attach bottom shelf
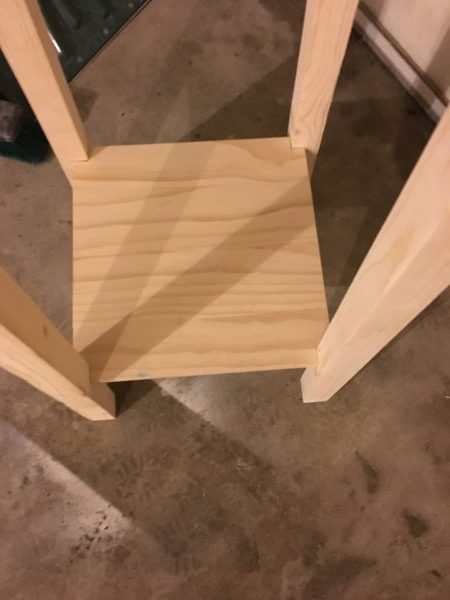
- Fit your bottom shelf into your coat tree. Mine ended up being about 4” up from the bottom, but you really just want it to fit and be level.
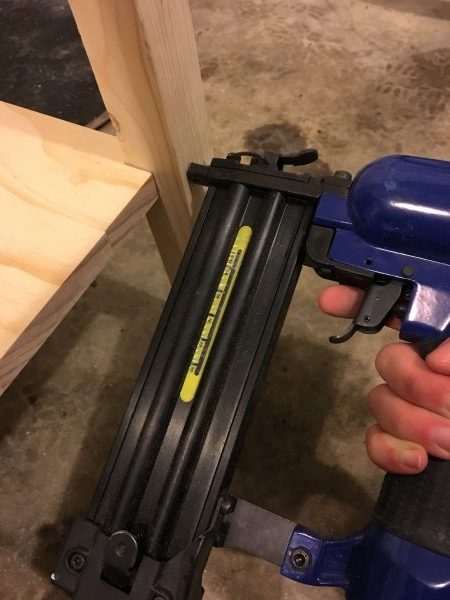
- Once it’s level, nail it in place with 2” brad nails in your nail gun. I nailed it from the outside.
- This is just going to hold it in place, so don’t use too many nails.
- You can even skip this step if you don’t have a nailer, but it does make things a little bit easier when you’re attaching the shelf supports.
- Once it’s level, nail it in place with 2” brad nails in your nail gun. I nailed it from the outside.
Step 8: Attach bottom shelf supports
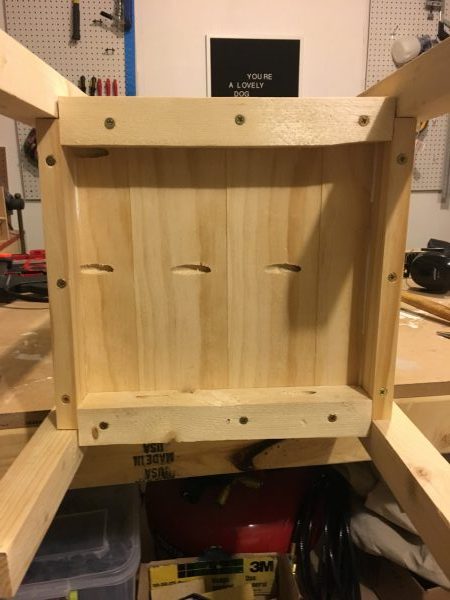
- The 2 x 2 pieces and the 1 x 2 pieces will be directly across from each other (see picture).
- I attached the 2 x 2 pieces first:
- Line these pieces up so that they are flush with the outside of the bottom shelf.
- Screw the support to the shelf from the bottom with wood glue and three 2” wood screws.
- Next attach the 1 x 2 pieces:
- Again, line these up so that they are flush with the outside of the bottom shelf.
- Also screw these supports in with wood glue and three 2” wood screws from the bottom.
- You will then attach these supports to the legs with 2” screws from the side.
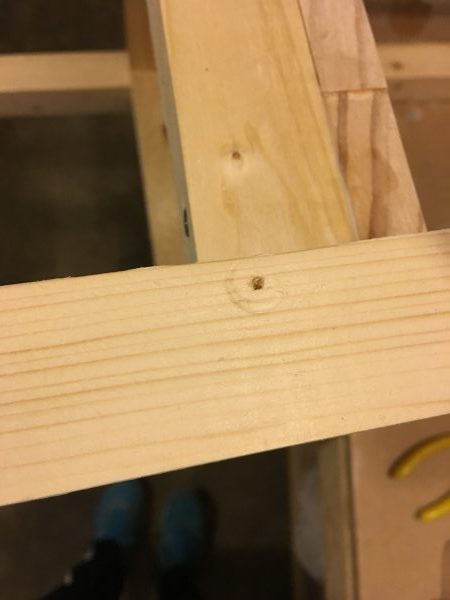
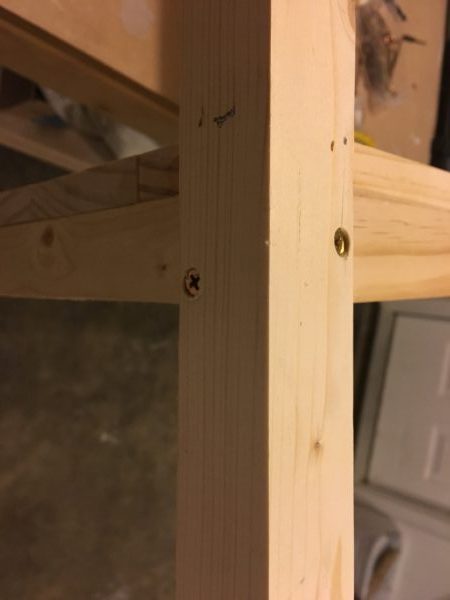
- Drill countersunk holes using a small drill bit first, and then make a small hole with a bigger bit that is bigger than the head of the wood screw (see pictures).
- I drilled one screw on each side of each leg.
- Here is the link for my drill!

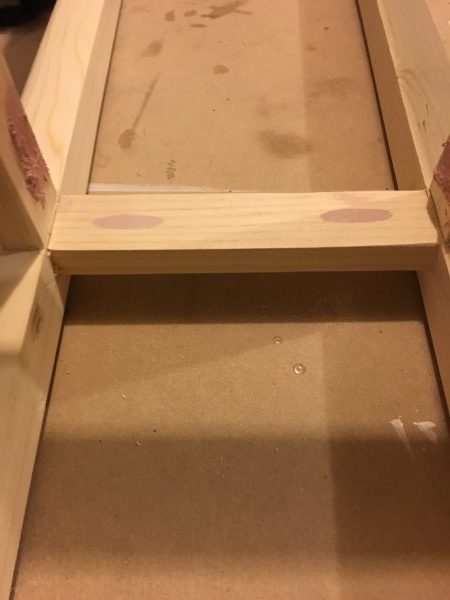
Step 9: Fill holes and sand
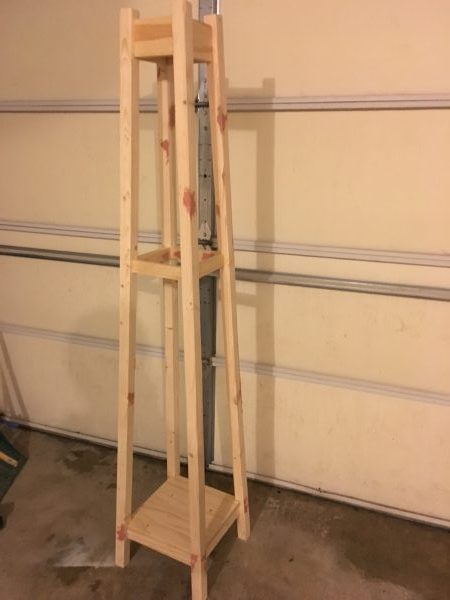
- You have an assembled coat tree- yayyy!
- Next, you will want to fill in the screw holes, the nail holes, the knot holes, and the pocket holes. Of course filling in holes is optional, as it won’t change the structure or sturdiness of your piece, but if you want a really nice finish, you should totally do it!
- I used this epoxy putty (click here) with the hardener of course (click here) to fill in all of my holes, because I had a couple of big gashes and knot holes that I felt needed more than just wood filler. You can totally use wood filler if that suits your fancy.
- Once the wood filler or epoxy putty has hardened, sand your entire piece down. Here is the amazing orbital sander I use! Depending on how rough your wood is, start with a low grit, and work your way up to a higher grit- I ended with 220 grit sandpaper.

Step 10: Wipe clean, paint, and finish
- Make sure your piece is free of dust by using a shop-vac and wiping it down with a damp rag.
- To paint my piece I used Rustoleum’s black spray paint and primer. I ended up doing two coats of paint to get it all nice and uniform.
- Once the paint was totally dry, I used Rustoleum’s spray lacquer to give it a nice durable finish. Again, two or three coats will do the trick.
- After the finish cures for a couple of days, go back and polish it a little bit to get it nice and smooth.
- My technique for this is to spray some water on the piece and gently GENTLY rub it with a fine 320 grit sanding block. If it’s foaming, that means the finish hasn’t had enough time to cure. Make sure you give it more time before you try to smooth it out. Wipe it dry and feel the smoothness!

Step 11: Attach your metal hooks
- I found these chrome hooks on Amazon (click here), and they are extremely sturdy and cost effective.
I screwed two hooks onto each side of the top of the coat tree, making sure that they were lined up evenly and level all the way around.

Now you have a beautiful and functional coat tree- good job! If you give this project a try, be sure to let me know how it goes for you!
Ta-ta for now,
-Whitney
You can also find Restoring Handmade on Facebook, Instagram, and Pinterest!
Other projects you might like:


Subscribe here to get the latest news.
I solemnly swear to never spam you.