
Rustic Wooden Advent Calendar

If you celebrate Christmas, did you grow up checking on your advent calendar everyday during December and feeling so excited with each passing day that Christmas was THAT much closer? We had a little wooden Christmas tree with a wire arch around it containing 25 red and green beads. Each day we would move one bead over the arch to the other side of the tree, and watch them just build up. The excitement that one tiny bead made was incredible!
I get so excited to share projects related to Christmas, because it’s the little things, the little traditions that bring on the magical feelings that make you long for the day to happen again. This rustic advent calendar was made as a gift for relatives, and I’m looking forward to making one for my own family in the near future!
This project is quick and fun. The price of the project totally depends on what materials you already have on hand. The single piece of wood is about $4, if you get the standard pine. The other materials are inexpensive as well, but if you had none of the materials, my guess is you would spend about $25-$30.
*This post contains affiliate links at no extra cost to you. View my full disclosure here.
What you’ll need:
Materials:
- (1) 1 x 6 x 8’
- Small wooden unfinished ornament- I found mine at our local Meijer around Christmas-time. You can be creative and use whatever you’d like!
- Stain- I used Early American by Minwax
- Antique white paint
- Gold paint
- Polycrylic
- (9) 1 ¼” pocket hole screws
- Stencil for the numbers (optional, but it made it easy!)- I found mine on Amazon HERE
- Permanent marker or black paint
- Small bows- Again, found at our local Meijer, but there are so many options for this!
- (25) 1″ panel nails
- Glue for glue gun
- Sandpaper
- Wood glue
Tools Used:
- Miter saw
- Kreg Pocket Hole Jig
- Drill
- Orbital sander
- Hammer
- Paint brush
- Hot glue gun
Cutlist:
- (4) 1 x 6 x 22”
Step 1: Cut wood
- Using your miter saw, cut your lumber to size using the dimensions above.
Step 2: Assemble with pocket holes
- With your pocket hole jig, drill three pocket holes into one edge of three of the boards. When the boards are laid flat next to each other, the pocket holes will join the edges to make your large flat board.
- Align so that the boards are flush and even on the top and bottom ends and on the side edges, and attach the boards using your drill with wood glue and 1 ¼” pocket hole screws.
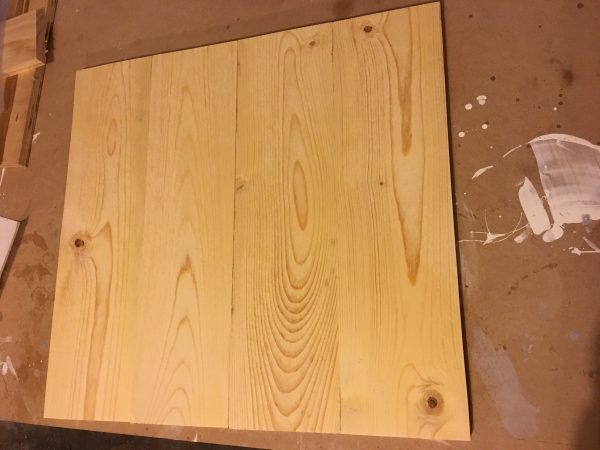
Step 3: Sand and stain
- Next, give your board a good sanding with your orbital sander. With boards that are in decent shape, I usually start with 120 grit, and end with 220 grit sandpaper.
- Wipe off the dust and debris, and stain your board! I love love love Early American by Minwax, so that’s what I chose to use for this project.
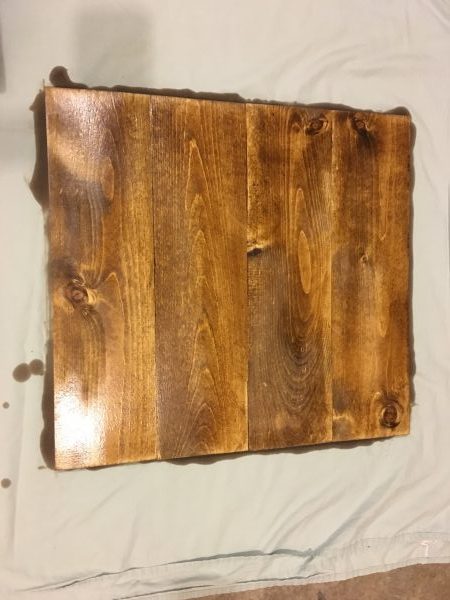
Step 4: Paint and distress
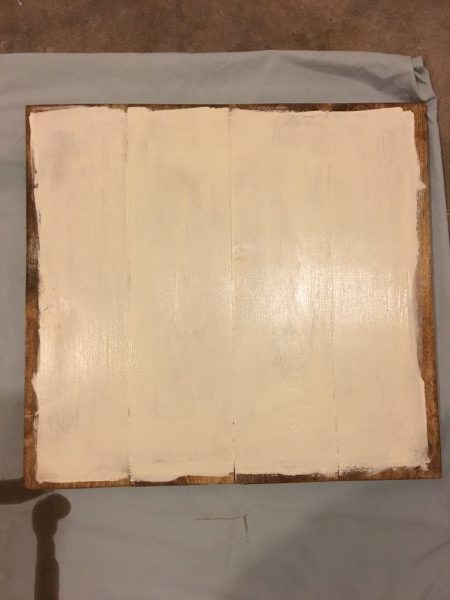
- Once your stain is dry, paint the face of the board with an antique or vintage white, but be sure to leave a border of stain around the edges. You could also paint the whole face of the board, but I liked the look of the dark border. I just used a little bottle of acrylic paint that you can find at almost any store for about $1!
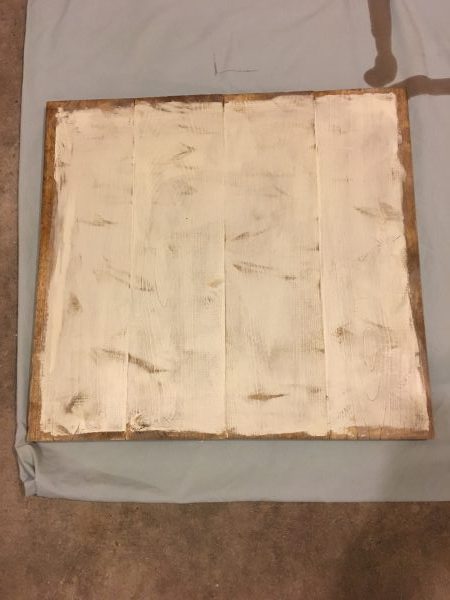
- After the paint dries, take your sander with some 120 grit sandpaper and distress it to your heart’s content! I liked roughing up the edges of the paint and then just sporadically sanding wherever else I felt like it could use it. Really technical, I know.
Step 5: Stencil the numbers
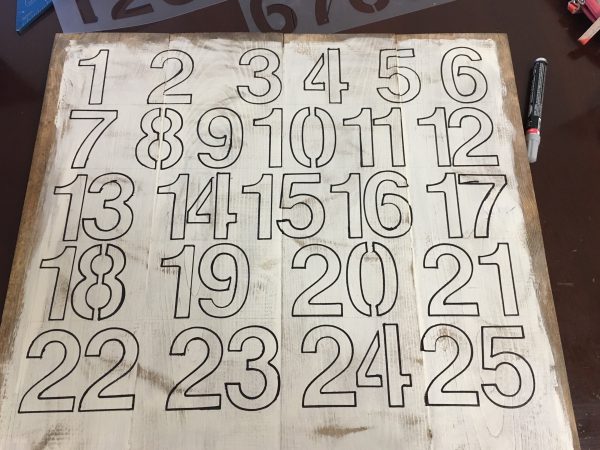
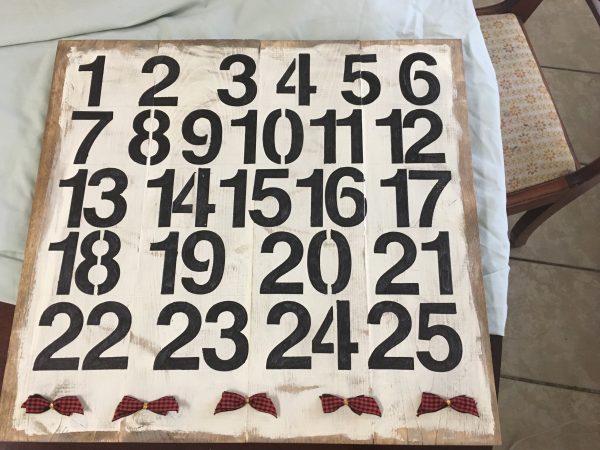
- Using your stencil (here’s mine), trace your numbers on the board with a pencil, aligned how you’d like. I intentionally left some space on the bottom of the board so that I could decorate it some more, but that’s optional! I didn’t measure everything to make all of the numbers perfectly aligned, but I like how it turned out!
- Then you can go back and outline the numbers with a permanent marker, still using the stencil to get straight lines.
- Once they are all drawn out, just fill them in with the permanent marker. You can also do this whole process with black paint.
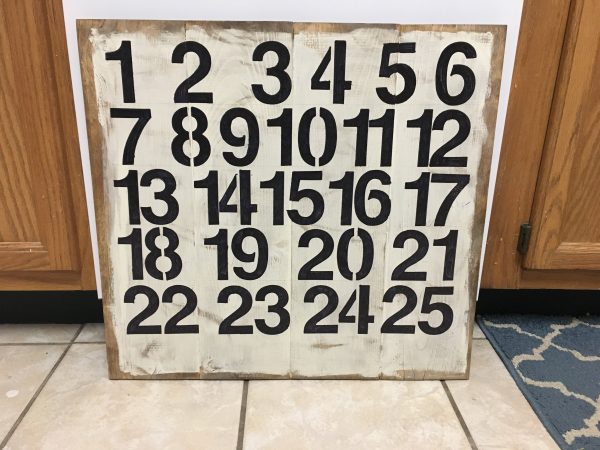
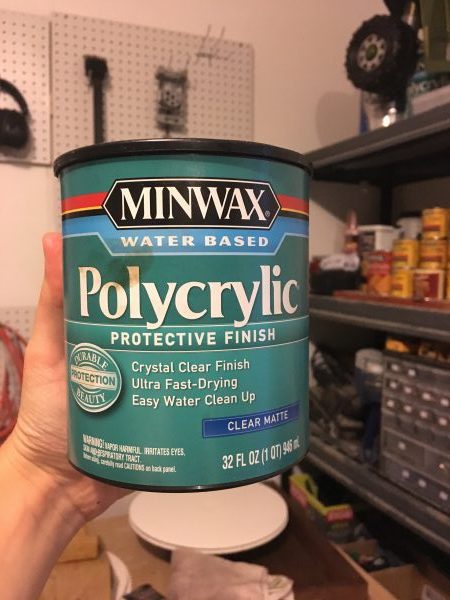
Step 6: Finish with Polycrylic
- With this step, you are just protecting your project from the elements of life. Put a few coats of Polycrylic on to make sure it lasts through many a Christmas!
Step 7: Hammer in nails
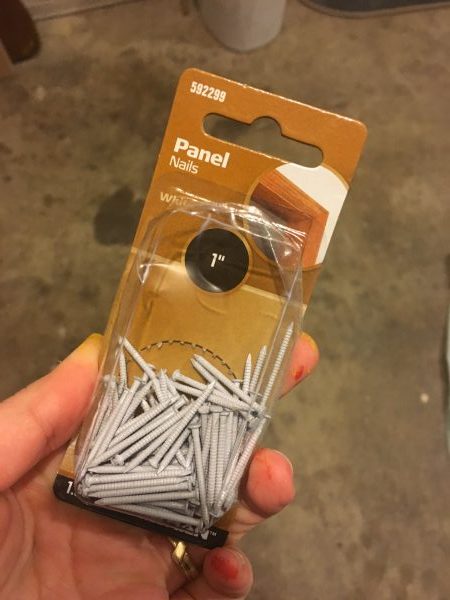
- Use these small panel nails to hang your small ornament over your numbers. I got mine again at Meijer, but you can also find them at any home improvement store. They are also white, which is great because they blend in with the board. All you need to do is center them right above each number and hammer them in with a few taps. They don’t need to be sticking out very far, just enough to allow your ornament to sit flat against the board.
Step 8: Decorate bottom
- This step is optional, but it definitely adds a fun touch! Hot glue some cute Christmas-y bows along the bottom of the calendar. I found a little package of bows around Christmas-time, again at our local Meijer.
Step 9: Paint ornament
- With this quick step, you’re just painting your ornament to the color you want. I found this unfinished wooden star from our local Meijer, and hit it with a few coats of gold paint. Again, the cheap acrylic paint that you can get for about $1. I’m real fancy over here.
Woohoo, you’re done!! Happy dance time. Enjoy your new calendar, gift it to someone you love, and create some fun holiday traditions.
Feel free to pin this for later by clicking on any of the images, or the Pinterest logo at the bottom of the post!
Thanks for following along,
-Whitney
You can also find Restoring Handmade on Facebook, Instagram, and Pinterest!
Other projects you might like:


Subscribe here to get the latest news.
I solemnly swear to never spam you.