
How to Preserve a Tree Stump for Furniture
Here in the USA, the southern states have these cypress logs that have been sunk in the swamps for over a hundred years. Some awesome people the past few years have decided to pull these logs out of the water, and noticed that these logs have these holes that give the wood a very distinct characteristic, which has come to be known as “pecky cypress.” People make beautiful things out of this pecky sinker cypress, and I wanted in!
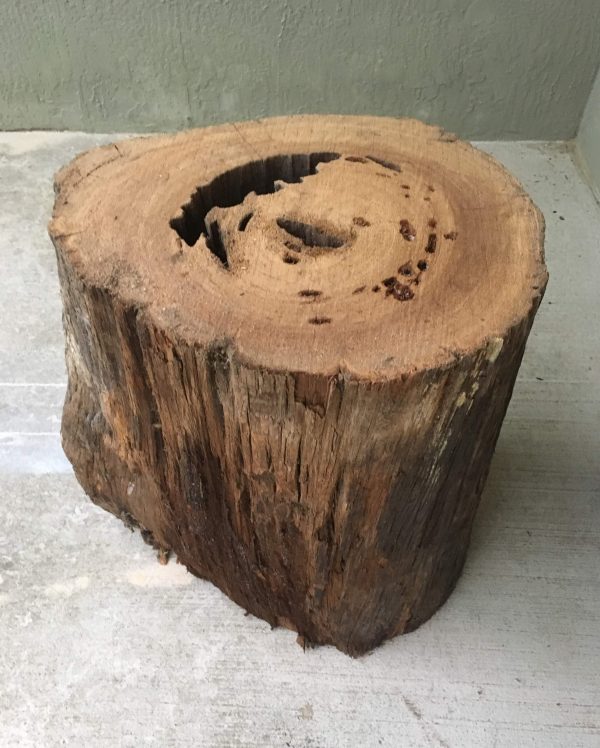
When we were on our internship in Florida last summer, I found a local lumber yard called Mossy Head Lumber, where part of their business is pulling out these cypress logs. I ventured over to their location, and found this awesome tree stump that had some large voids. Ideas started to come, and I decided to buy this stump and fix it up! It was the first project I’ve done using epoxy, and it honestly wasn’t as hard as I thought it would be. If I can do it, you can too!
The only power tool I used for this project was my orbital sander, so if you’re new to DIY or don’t have a lot of tools, this project is totally doable! Follow along below for the tutorial on how to fix and preserve a stump to use as a really cool statement side table, nightstand, or chair!
*This post contains affiliate links at no extra cost to you. View my full disclosure here.
Here’s what you’ll need:
Materials:
- Tree stump of your choice
- Sand (optional, see Step 2)
- 5 Minute Epoxy
- Pigment
- Polyurethane
Tools Used:
- Orbital sander
- Grill scrubber brush
- Foam brush
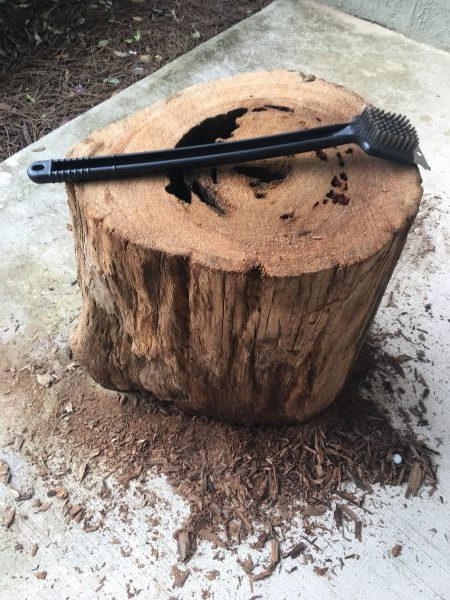
Step 1: Clean your stump
- This step will be a lot of hard work (which I not so secretly love). You need to decide if you’re going to keep the bark on your tree stump or not. If there is a black ring between the bark and the wood in the stump, then you definitely need to strip the stump of the bark. If there is not a black ring, you have the choice to leave the bark or not.
- Either way, it’s a good idea to power wash the stump. You can do this with a hose!
- If you’re getting rid of the bark, you need to decide the best way for you to strip it off. I picked up this $3 grill scrubber and it worked great for me! The sharp metal end was good for getting under the bark. You can also do this with a chisel.
- You can then take your orbital sander (here’s mine!), and go around making it smooth until you’re satisfied with how it looks and feels.
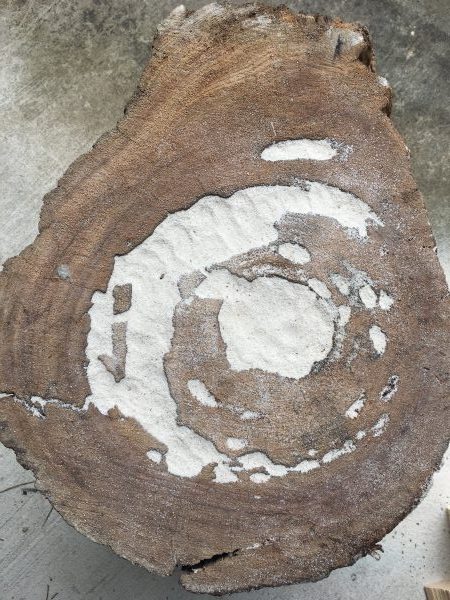
Step 2: Fill your stump (if not doing this, skip to Step 3)
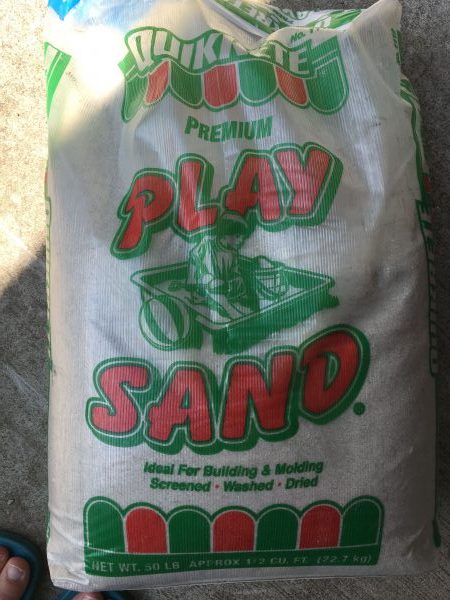
- Since this stump that I fixed up is a sinker cypress, it had large voids that went through the whole thing. Instead of filling the entire stump with the expensive epoxy, I filled it with sand! I just used Quikrete play sand that I found at Lowe’s for $4.
- Here’s how I went about filling with sand and then epoxy (will explain epoxy in Step 4):
- Filled side void with sand, then epoxy.
- Dumped sand through the stump, which was then standing upright, and then covered holes with epoxy.
- Flipped the tree stump after the epoxy dried on the other side, and then filled the other side’s holes with epoxy.
Step 3: Cover holes with epoxy
- Instead of buying a large carton of epoxy, I found this 2-part 5 Minute Epoxy for about $15. I had a lot of voids to fill, so I actually had to go back and buy another one once I realized that I didn’t have enough. If you have a stump with smaller voids, or they’re only on one side of the stump, then one package of this epoxy will work great!
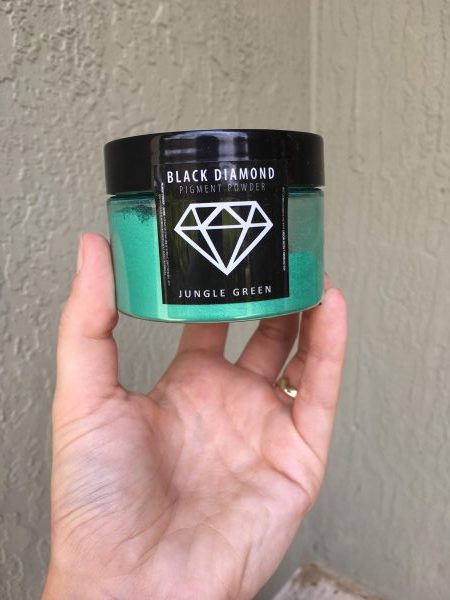
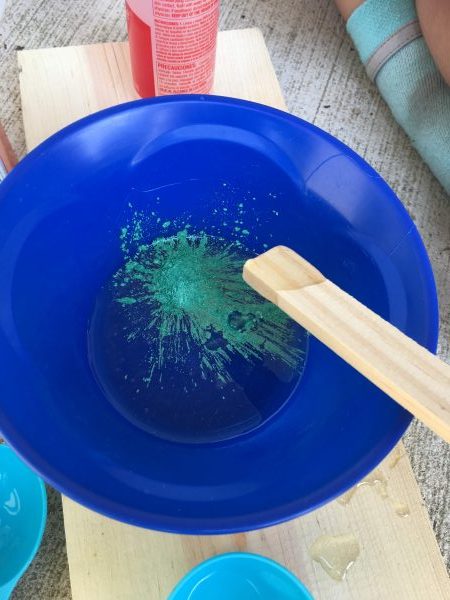
- All you have to do is mix equal parts epoxy and hardener (included), and add pigment of your choice. I was surprised with how little pigment I needed to get a rich color. I found this awesome color from Black Diamond Pigments on Amazon (HERE), and I was thrilled with how it came out! Black Diamond has a large variety of pigment options, it was hard to choose just one, so I think I’ll have to do more epoxy projects in the future!
- Once the epoxy is all mixed, you only have a few minutes of working time before it starts getting tacky. Cover your voids the best you can, and then just let it cure! I went and checked on it a few hours later, and the epoxy was rock solid!


Step 4: Sand and finish
- I would advise waiting a day or two before you sand down your tree stump, just to make sure the epoxy is as hard as it can be.
- Take your orbital sander and smooth out any bumps, sand off any parts where the epoxy may have spilled over, and just make sure everything is super smooth.
- Once it’s all sanded how you like it, preserve your stump with several layers of polyurethane. Minwax’s Helmsman Spar Urethane is great for this. The ends will soak up way more than the sides, so put extra layers on the top and bottom. I just used a foam brush for this, and it worked great.

Your tree stump side table is done! This was a really cool project for me, because it was different than anything I had done before, and I love the story behind sinker cypress logs. Overall it was a fun project and it made an awesome statement piece.
Have you fixed up and preserved a stump before? How did it go for you? Also let me know if you plan to do so now!
-Whitney
PS I posted some Instagram stories while I was working on this project, and those videos are saved in the “Highlights” section of my profile called “Stump Table.” Check it out if you’d like to see more of this project! HERE is the link for my Instagram profile (@restoringhandmade)
You can also find Restoring Handmade on Facebook, Instagram, and Pinterest!
Other projects you might like:


Subscribe here to get the latest news.
I solemnly swear to never spam you.